

How to draw Scar
The Scar is a fictional character in the lion king. Scar is the most beloved villain in the Disney lion king. Your kid must watch the lion king and will be familiar with the character scar. They must be curious about Scar’s drawing as well. He is Simba’s parental uncle. He is the younger brother of Musafa.
The Scar was nominated for best villain at the MTV movie awards. Scar leads an army of hyenas to take the throne by killing Musafa. A scar is a primary opponent in the Disney 1994 featured film the lion king. After Mufasa, Scar was the next in line for the throne as king of the Pride Lands. The birth of his nephew, Simba, ended his chances.
A jealous Scar, aided by his hyena, devised a murder to take over the kingdom. A scar is the most well-known Disney villain’ character because he was responsible for the murder of Mufasa. Are you willing how to draw Scar? Easy Scar drawing is very engaging and inspiring. Learn Scar drawing easy by following the stepwise approach in this tutorial.
How to draw Scar step by step:
You will learn Scar drawing by following the simple stepwise tutorial of easy Scar drawing, for kids to learn. Let us get started!
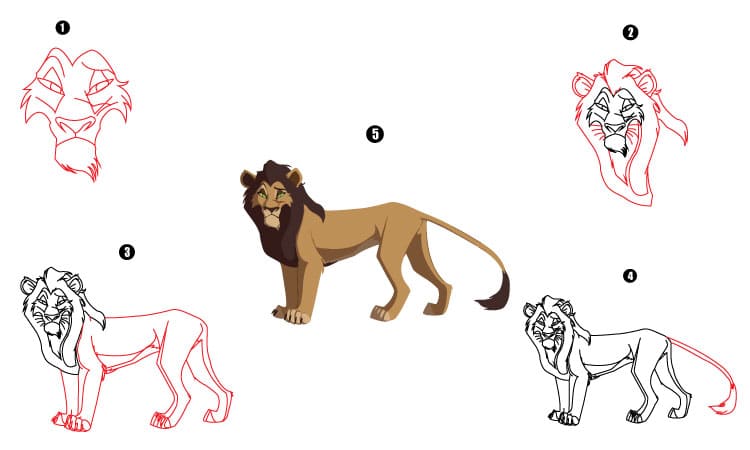
Step 1:
In 1st step of the Scar drawing, we will begin with the Scarface. Scar has a pointed forehead. Draw a small curve line for his forehead. We will draw a small circle with the help of a compass. Then we will draw a rectangular shape extending from a ring. We use small curved lines within the rectangular to outline the snout, nose, and mouth details. Then draw loosely “S” shaped lines that will move downwards from the forehead to the lips.
We will sketch a “W” shape for lips that will meet at the irregular lines at the base of the neck. Draw an oval shape and then draw some small circles in the oval shape to make the pupils of the Scar. Then we will enclose his teeth and use curved lines. We will draw his tongue. Enclose his nose using small curve lines and split the upper lip.
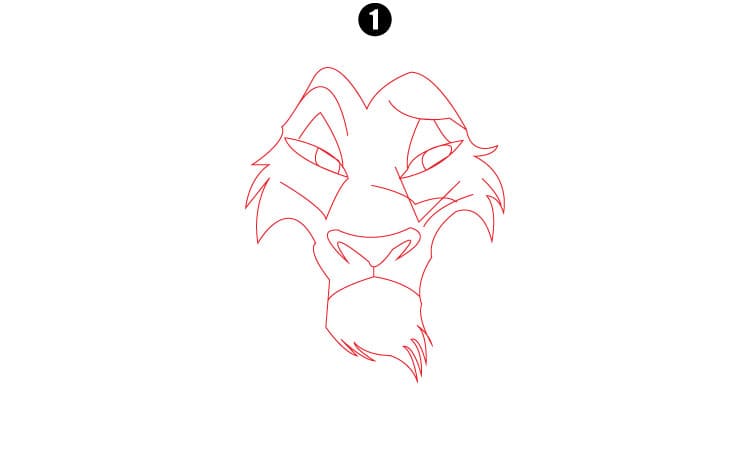
Step 2:
Then we will draw a “C” shape line to draw his ears. We will add some irregular inner lines to form his inner ear. Then draw a small rounded shape with wavy lines in the inner ear. Now enclose a round shape on the lower jaw. Now we will draw a series of wavy and spiky curved lines to make the mane of the lion.
We will begin the drawing of the Scar from his head. We will draw a small circle with the help of a compass. Then we will draw a rectangular shape extending from a ring. We use small curved lines within the rectangular to outline the snout, nose, and mouth details. We will draw two small curved lines to form scar ears.
Now draw a series of wavy and spiky curved lines to make the mane of the lion. We will begin just beneath the ear of the lion. Then we will draw a loosely “S’ shaped line to form the mane of lion Scar. Use some curved lines of various lengths over the ear to extend the fur. Then we will enclose the fur from top to bottom by using curved lines to complete the mane of a lion.
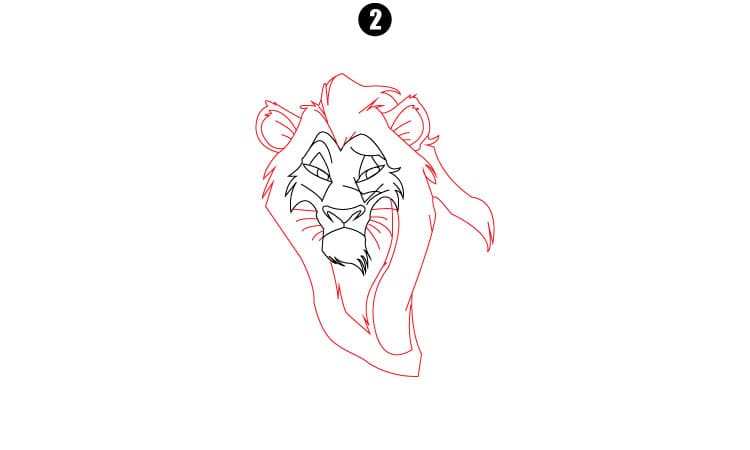
Step 3:
Now we will draw two circles with the help of a compass to make the belly and the remaining portion of the scarred body. Now connect these circles with small lines from above and down. Erase extra lines from the rectangle we draw for the mouth, snout, and nose and additional lines from the belly portion to form the lion belly.
Below the mane, we will extend two parallel lines to include the legs of a lion. Draw the third similar line behind the two bars to make his front legs. Draw an extending “S” shape line from the stomach area of the lion and extend a series of overlapping “S” shaped lines to form his legs.
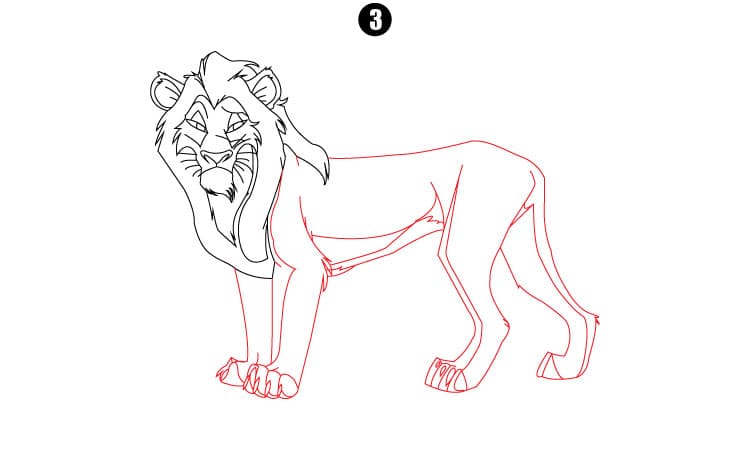
Step 4:
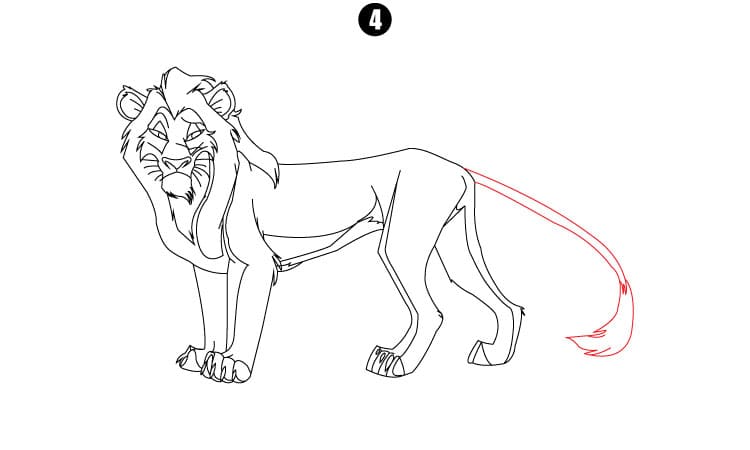
Now draw his tail using parallel lines, and curve lines joined each other to make tufts of hairs on the backside. Now add details using a few small lines to form his whiskers around the snout and mouth. Our easy scar drawing is ready for coloring. Use a reference image if any step is missed.
Step 5:
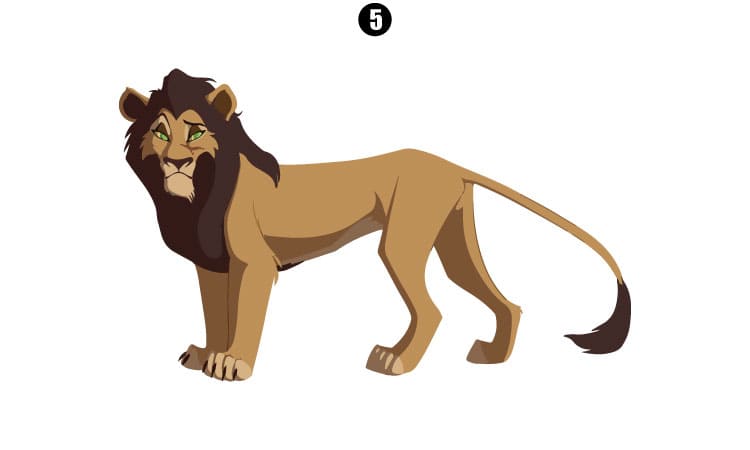
In the 5th step of Scar drawing, we will color our adorable Scar drawing easy. Kids can use typical yellow, orange, brown, black, and white colors color Scar.
Conclusion:
I hope this tutorial about how to draw Scar will benefit you. By following the stepwise approach, we are confident you can draw Scar and will impress your friends and family. If you like our tutorial on this drawing, then please share it with your friends and family. Please keep visiting our website for more inspiring and engaging drawings. And let us know about your valuable feedback in our comment section.
You May Also Like:
