
Bell Drawing
Today we will learn about bell drawing. Bells and Christmas have a long history. These cute bells are called jingle bells. Looking at the shape of the drawing bell seems too tough to draw. But bell drawing is easy and needs excellent attention if someone guides you through some easy steps. I will teach you step by step how to draw a bell. Sketching a bell may be complex if you are a beginner. Don’t worry; I will teach you to draw it quickly.
Learn some facts about the jingle Bells
These jingle bells produce a good jingle sound. The jingle bells ringing is considered the announcement of the birth of Christ. These bells are made from bent metal sheets in a spherical shape. These bells were fastened to the horse to signal the approach of some important person. These jingle bells are the first instrument played in space. Wealthy people wore bells as a symbol of affluence.
5 Useful Tips for Bell drawing easy
A good artist remains very conscious about his drawing. He always wants to create a masterpiece. He takes care of each little thing that can make his work better. So, to become a good artist, you need to be focused and passionate and follow the following tips. These handy tips would be helpful for you for drawing anything, not only bell drawings.
- Be neat and clean
- Avoid erasing again and again
- Relax, don’t hurry up
- Always adopt a stepwise approach
- Always be creative
Kit for how to draw bell
It would be best if you had a checklist of what bell drawing requires. Since this is a simple drawing, you don’t need many things but only a few basic things.
- Pencils
- Drawing Sheets
- Sharpener
- Eraser
- Colors
- Black marker (not compulsory)
- The time required for the bell to sketch will take only 20 minutes of full attention.
5 Simple Steps for bell drawing
Let’s get started! Drawing bell. So finally, it’s time to draw! I will tell you the simple steps of Athena that you must follow strictly. Here are a few simple steps for your help with drawing.
Step 1:
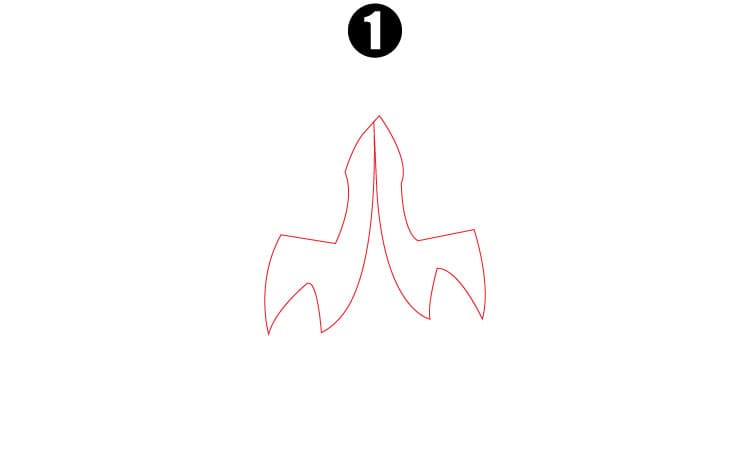
We will begin our bell drawing by sketching the ribbon of bells. We will draw the stripes by using some curved lines in a bifurcated tooth-base shape, as shown in the reference image on both sides of the bells.
Step 2:

In this 2nd step, we will draw a few pairs of bells by drawing an elliptical oval shape. Now we will use the circular inverted “u” shapes to draw bells with some rounded lines to make the neck of a bell. Then we will draw a curved line horizontally along the channel of a bell. That gives a bell a spherical shape.
Step 3:
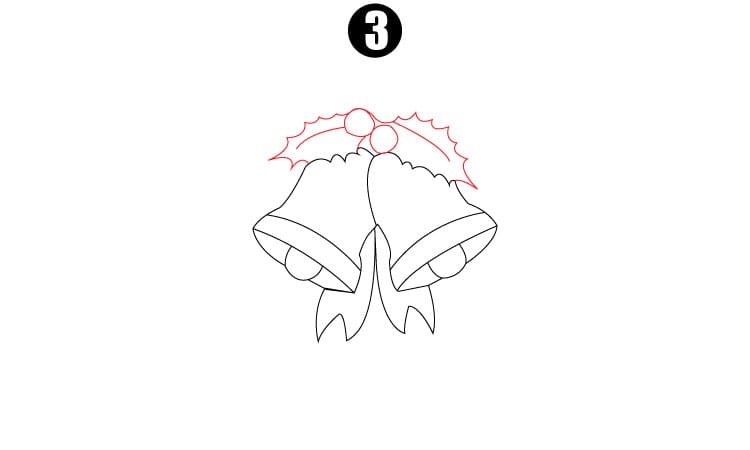
In this 3rd step, we will begin sketching the holy leaves that bounds the bells. Then we will draw a few small circles to show the knot of the ribbons. You can use a reference image as a source for more details or any step missing.
Step 4:
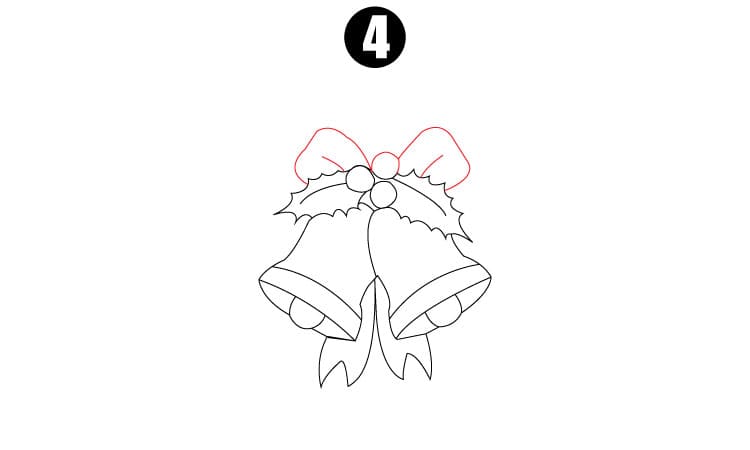
In this step, we will draw the bow which tied the bells together. We will draw the bow by using some curved and rounded lines.
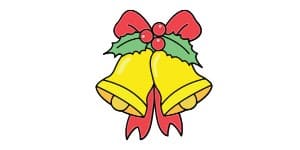
Step 5:
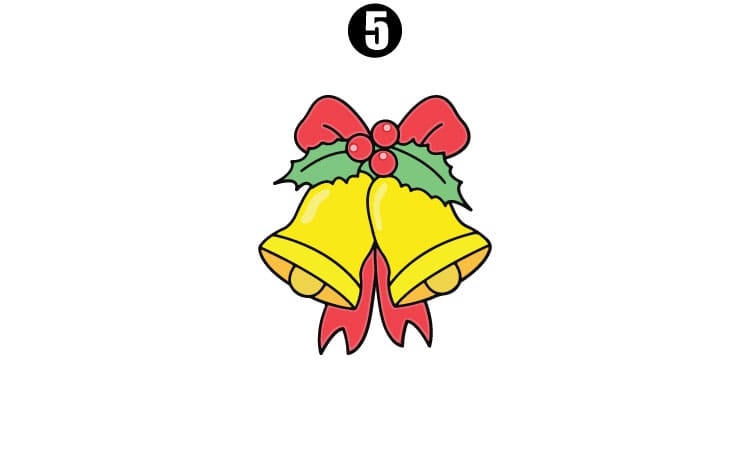
Lastly, our bell drawing is ready to fill in colors. Usually, the bells are available in golden and silver colors. Your kids can use bright and cheerful colors like red, green, and golden to make this drawing adorable and magnificent to add to their collection book.
Final Words:
So, I hope it was fun for you to go through this guide. Now you are very well aware of the bell drawing. Now it’s totally up to you how much effort you make for this sheet. Using colors, art mediums, and extra details will enhance your drawing expertise. Drawing is an engaging and quality time-spending activity. So, keep drawing your pages and visiting our website for easy drawing guidelines.
You May Also Like:


