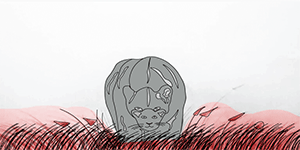
How to Draw A Lion
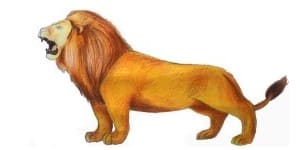
In this tutorial, we are going to make how to draw a lion king. This tutorial is a part of a drawing tutorial for beginners, drawing for kids, and drawing animals. We will show you how to draw a lion quickly. That’s why our beginners can learn well. It is effortless to draw, don’t get hesitation beginners and kids. It will have very simple to draw. Before you make this line, you should have your colored pencils to draw the color. We have many kinds of tutorials, so you can learn different types of drawing quickly. So let’s go ahead and start to draw a lion king step by step.
Step 1:
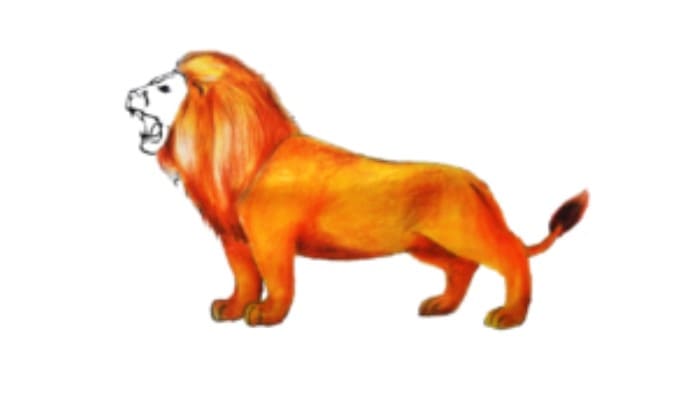
We will start drawing a lion (Panther Leo) drawing from its face having ear, nose, mouth, teeth, and tongue. In this step, I am making a face except having the eye. First, I give the shape of the face and draw a small ear by helping with the semicircle shape that will proceed to the lion’s ear, and then we give the triangle shape to the nose. The small tiny canine teeth are making triangular-shaped. The curve inside the mouth represents the tongue.
Step 2:
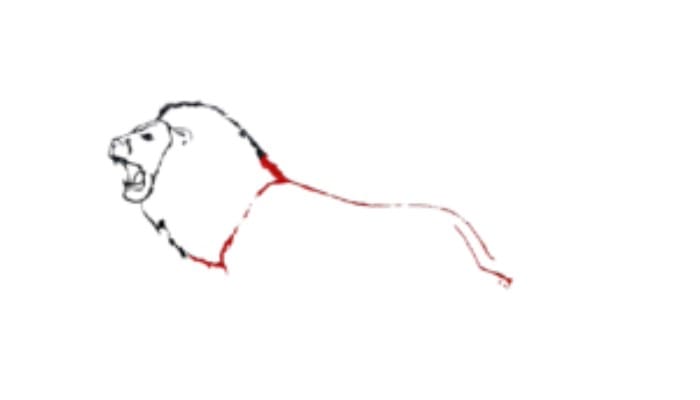
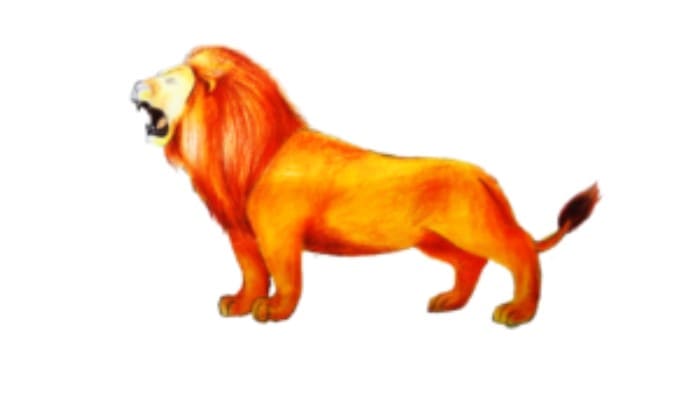
In this step, how to draw a lion king, we are going to draw the eyes. Now we are moving the pencil to make a shape of the eye. Then the I made the hair around the neck and then the whole remaining body of the lion except its legs. The body gives its shape by moving the pencil in wavy motion and also provides a slight cut off the tail.
Step 3:
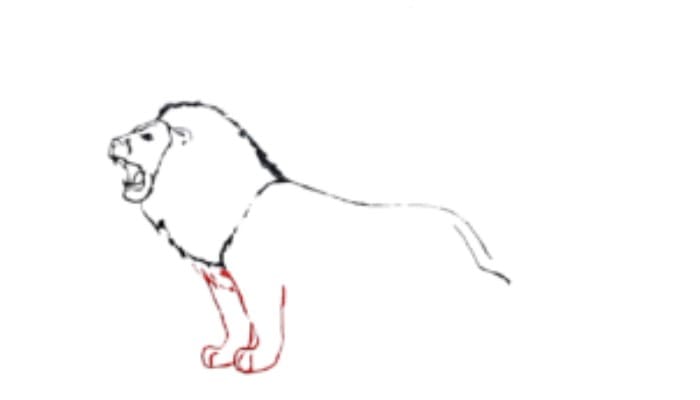
In this step, how to draw a lion king, I will make the lion’s front legs. First, the legs are made by completing the curved that originated from the body of the lion, which represents the legs. Then the fingers are made by making the lion around the paw to give it a shape like a finger.
Step 4:
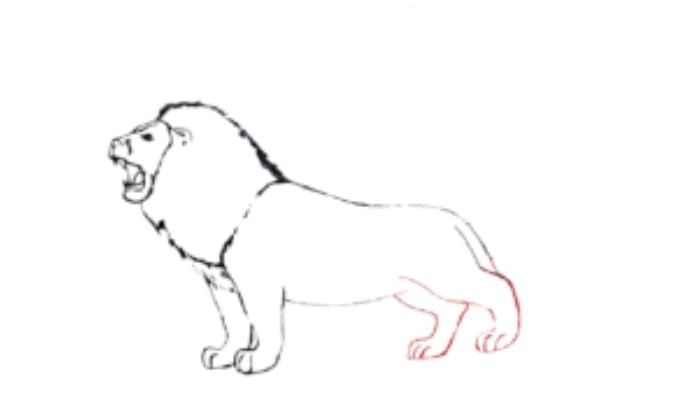
The exact process goes in this step how to draw a lion for kids to make the back two legs of the lion. In this step, the legs are made by using the wavy lines, and this time it comes near the belly, looking at the thigh. The finger on the paw is made from the same process by making the curvy lines which give it’s a finger-like shape.
Step 5:
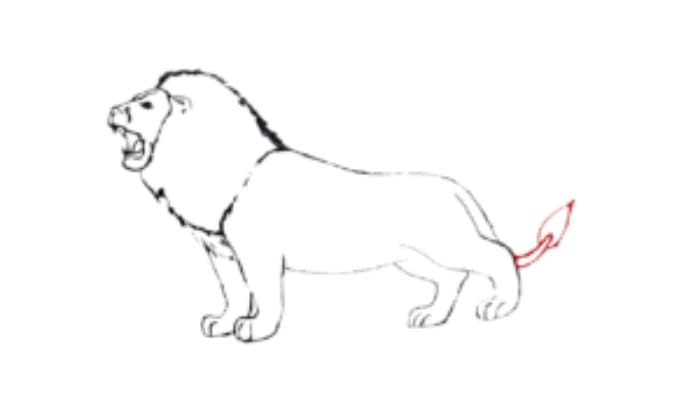
In this step, how to draw a lion, the focus point is the tail of the lion. The seat comes in appearance by making the wavy lines originate from the hip side of the lion. The hair present around the edge of the tail has been made by giving it a shape of a leaf which then looks real after coloring. Learn more about drawing a tiger.

