

Draw Rose
In this tutorial, we are discussing how to draw rose flower step by step with a pencil. We drew two roses in this video tutorial. It is very easy to learn drawing flowers with pencil. We will work with a pencil to draw these flowers. Mostly school kids are facing learning with pencil drawing rose. Now, this tutorial is very efficient, that’s why kids easily learn to draw a rose. Most people have a hesitation to draw with pencil sketch drawings. So, don’t be scared, it is very easy to learn. Our channel provides the best and easiest drawing tutorial for beginners. Now we are trying to teach in simple and few steps how to draw a rose. Let’s go ahead to our steps.
Material Required:
- Sketchbooks or drawing paper
- HB, 2B, and 4B pencils are used for shading.
- Sharpener Eraser Optional: Watercolors, markers, or colored pencils can be used to add color
How to Draw Rose Step by Step:
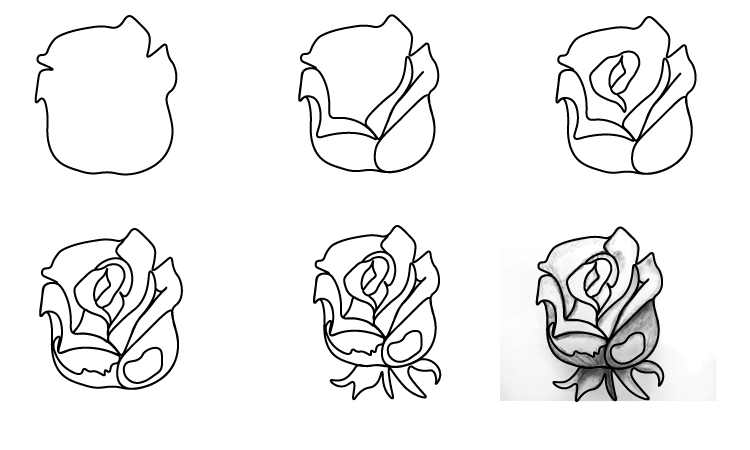
Draw rose flower step 1:

Start by drawing a circle in the center of the paper. Draw some lines outside the circle to illustrate the stem, draw a curved line that extends from the small circle that represents the bud in the center. Recall that this is only the fundamental framework, so make sure your lines are clear and concise. For any problem you can see the reference image of Rose Drawing.
Draw rose flower step 2:

Begin sketching the bud’s petal shell. Because rose petals overlap and are rounded, your design should emphasize curves and soft waves. Work your way slowly towards the center, starting with the petals on the outermost layer. Right now, just concentrate on capturing the general outline; don’t worry about the finer details. Learn more about line drawing flowers.
Draw rose flower step 3:

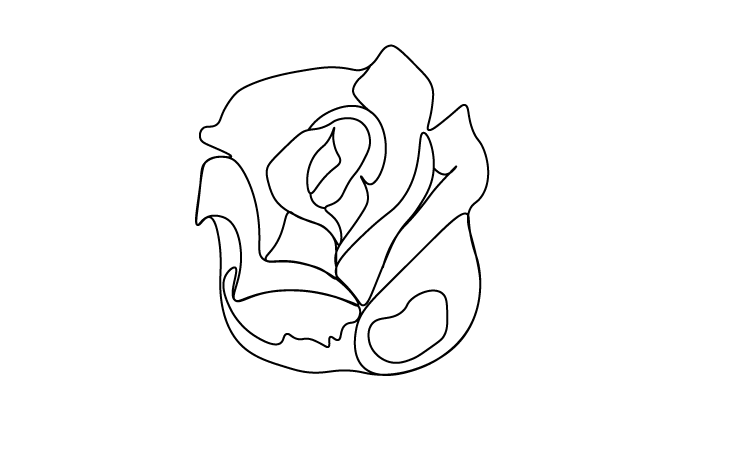
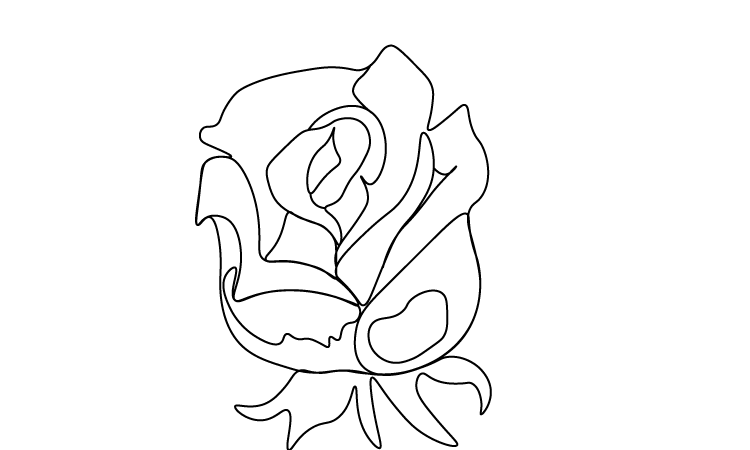
Now draw the inner petals of the rose. Imagine that the rose is made up of layers of petals, and then draw thin lines that extend forth from the center. This will assist you in crafting a rose that is both symmetrical and proportionate. You can see the image of a simple rose drawing below.
Draw rose flower step 4:
It’s time to draw the lower petals of the simple rose drawing. To make the petals seem more realistic and natural, add folds, curves, and thin lines. Observe the different sizes and forms of the petals as they overlap with one another.
Draw rose flower Step 5:
Use a variety of pencil grades for shading to give your rose design more depth and complexity. For the inner petals, start with a softer tint and then darken it as you move outward. Observe the source of light to produce accurate highlights and shadows. Additionally, you can add texture by employing cross-hatching and hatching methods.
Draw rose flower Step 6:

It is the last step of learning to draw flowers. We complete the rose drawing with steps. We collect all the images and make one image of all the steps. You can see the image below.
Conclusion:
You did see that it is very easy to draw a rose with a pencil. I know you want to try to draw more times because its tutorial is very efficient for kids and drawing tutorial for beginners. I hope you enjoyed this tutorial. Cool drawing idea is providing more pencil sketch drawing and creative drawing easy. You can easily learn and make perfect for yourself to be professional.


