Angel Drawing
Angel drawing always brings the creativity out of an artist. Artists of all levels want to draw beautiful angels with their mighty wings.
Angel Wings Drawing
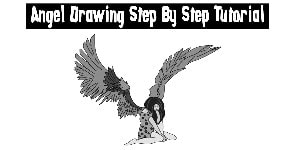
Angels are always thought to be innocent, pious, and humble beings. We are sure that just angel wings drawing are something that everyone loves to stare at. In this tutorial, you will learn a beautiful angel drawing. At first, it might seem difficult but trust us. This simple angle drawing will be a stepping stone in your fantasy drawing. On the other hand, this looks very realistic angel wings drawing.
Art Supplies for Angel Wings Drawing
Here are the art supplies we can use in this drawing:
- 2B, 3B pencils for outline
- 6B pencil for shades and blend
- Eraser and sharpener
- Sharpie
- Black pointer
- A piece of paper or sketchbook
Tips for Ange Wings Drawing
Here are the tips to help you learn drawing quickly:
- Once you start a new drawing, repeat drawing it until you have a perfect one.
- Look at others’ drawings for inspiration. You can learn a lot by looking at someone else’s work.
- Learn to copy others’ drawings. It doesn’t bother artists. Once you have mastered a drawing in this way, draw it from your own imagination and add some new creativity.
- Photographs can be very good references or inspiration as well.
- When you are a beginner, make a habit of drawing objects around you.
- Please keep a sketchbook. Fill it with lots of drawings.
- Don’t force yourself. Draw something if you have real intention to draw. What’s the point of drawing something which isn’t fun.
Realistic Angel Wings Drawing Step by Step Tutorial
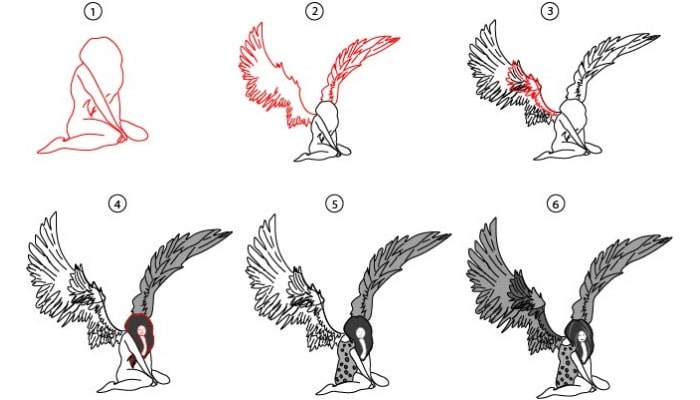
Let’s start with this realistic but easy angel drawing tutorial. Also, check the video of this tutorial, so you can learn each step quickly.
Step 1:
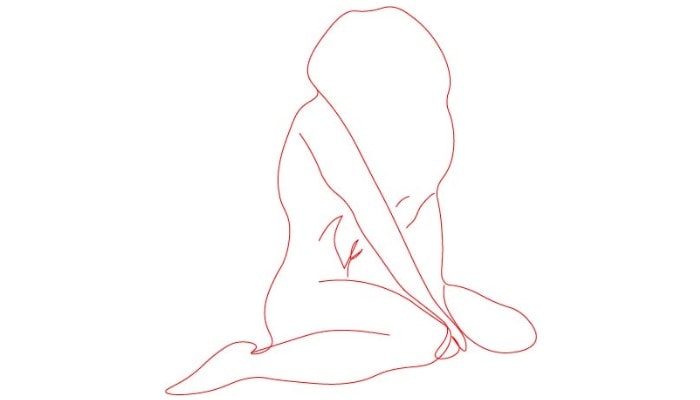
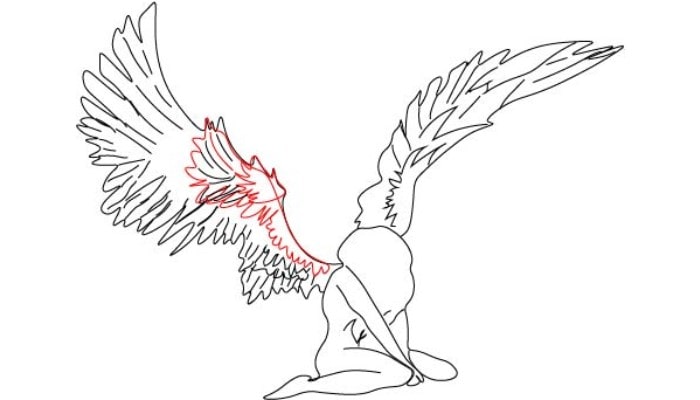
Outline a girl sitting and her face hidden behind her hair—Figure 1.
Step 2:
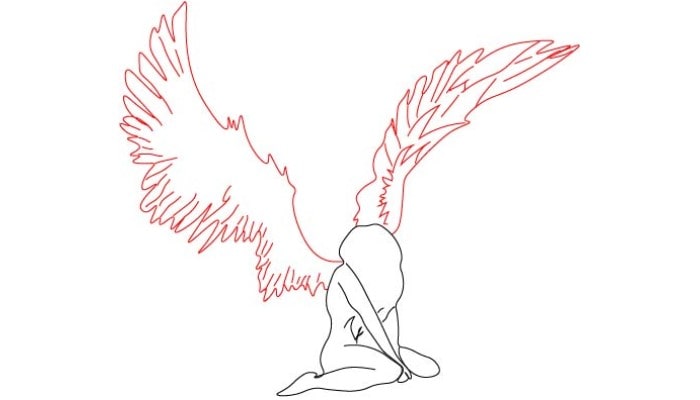
Draw the wings emerging from the back and extend upward. Outline the wings with patches of long lines on the outside to give them a more realistic look. It will also enhance the feather or fur textures on the wings—Figure 2.
Step 3:
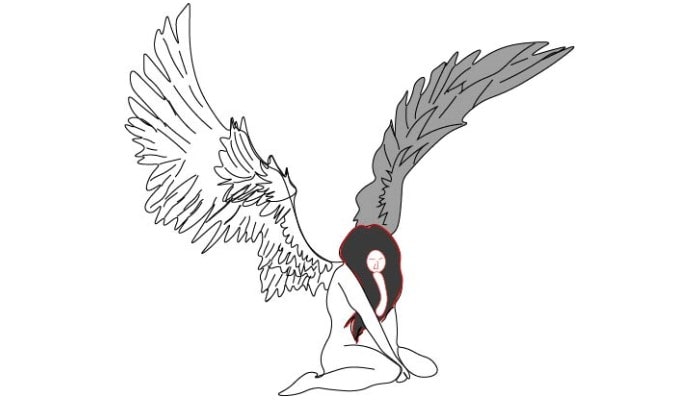
Draw lines of different sizes in the left-wing just like you drew in the previous step. It will enhance the textures of feathers on the left wing as well—Figure 3.
Step 4:
Now is the time to apply shades to the drawing. Apply shades on the right-wing and the angel’s hair with gentle pressure—Figure 4.
Step 5:
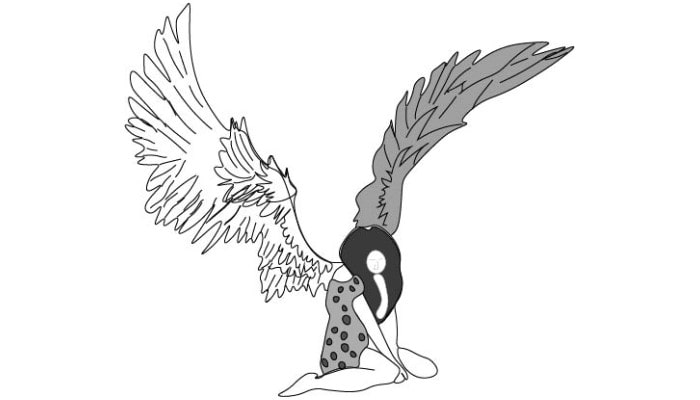
Draw the dress of the angel and put some bold dots in it. Then apply shades to the dress as well—Figure 5.
Step 6:
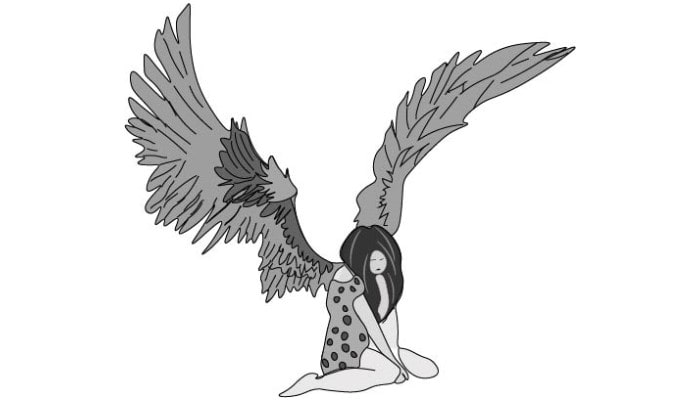
In the final step, apply shades to the left-wing as well. Then to give a final touch, use a pointer, a black sharpie, or a 6B pencil on the outline. It will make your drawing pop.
Conclusion
We hope that we are helping artists of every level to learn drawing seamlessly. Would you please check our other drawing tutorials? We have a variety of drawing as simple as for kids and even for professionals. Don’t forget to share this post with your loved ones.
You may also Like:

