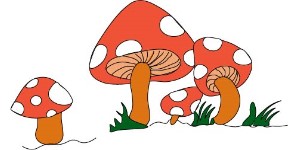
Easy Mushroom Drawing
In this drawing tutorial, you will learn a simple mushroom drawing that will make mushroom drawing easy for you. If you are a nature drawing lover, you’ll love trippy mushroom drawing.
Mushroom Drawing Easy
Mushrooms are strange organisms that are neither plant nor animal. Instead, the mushroom resembles a plant with roots called mycelium that grow from the earth. It consumes plant stuff via mycelium, yet it cannot move as freely as animals. Therefore, mushrooms and fungi are classified as separate categories.
There are around 80 different varieties of toxic mushrooms on the globe. Some are lethal, while others cause sickness or hallucinations. Never consume a mushroom that you find in the wild. Poisonous mushrooms frequently mimic edible species; only an expert mushroom hunter can identify the difference with confidence.
Drawing tools for Mushroom Drawing
With the aid of this basic, step-by-step drawing tutorial, you can do it in no time. All you’ll need is a pencil, pen, or marker, as well as a piece of paper. You might also tone your final design with crayons, acrylics, or colored pencils.
Tips on how to draw a mushroom
Begin the drawing with a pencil and make light lines because certain areas may need to be erased. Then, you may either follow the visual guide below or watch the video in the instructions below.
- You might begin by drawing the shapes with loose strokes.
- Shaping can be difficult; thus, don’t be scared to draw with a pencil and then go over the sketch with a pen until your ideal design emerges.
- To attract oyster mushrooms, make shorter stems and larger caps.
- Porcini mushrooms require bigger stems and smaller caps to be drawn. Therefore, draw shorter stems and no spots on top of the mushroom cap for champignons.
How To Draw A Mushroom
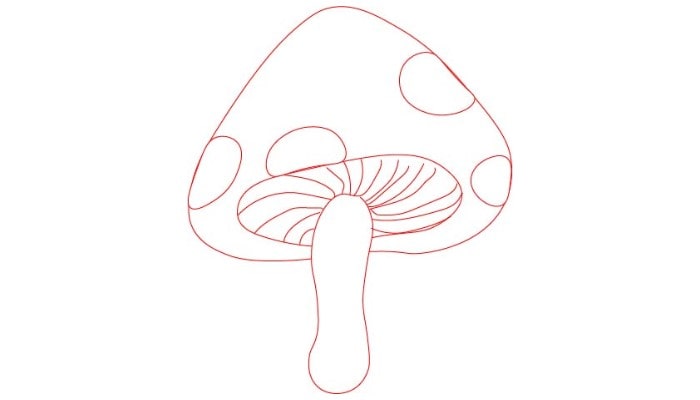
Step 1:
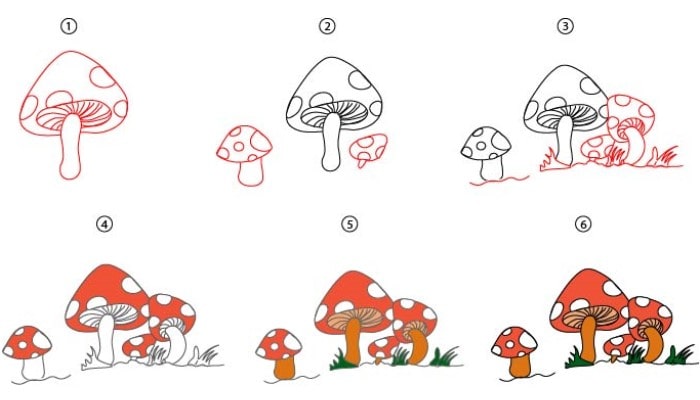
Draw one big mushroom in the middle with round spots on the cap and gills below the cap—Figure 1.
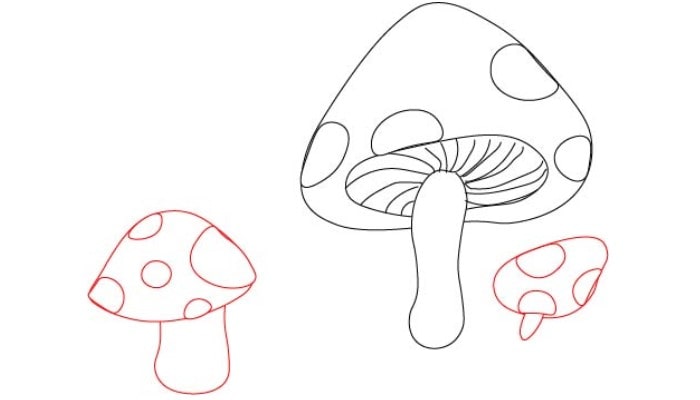
Step 2:
Draw two small mushrooms on each side of the big mushroom—Figure 2.
Step 3:
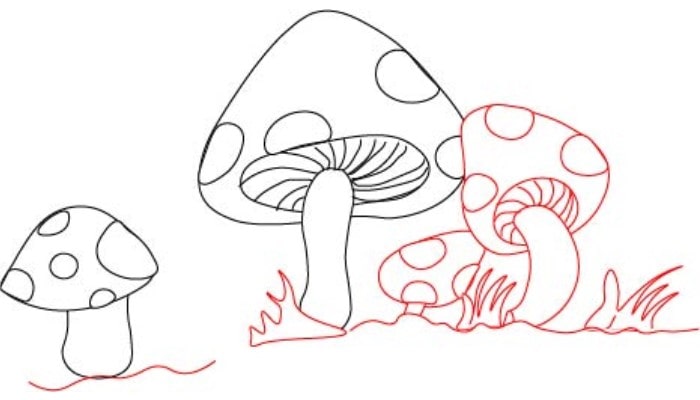
Draw the fourth bending mushroom with gills on the right side of the big mushroom. Then a line represents the ground surface, and then draw some lines representing small grass—figure 3.
Step 4:
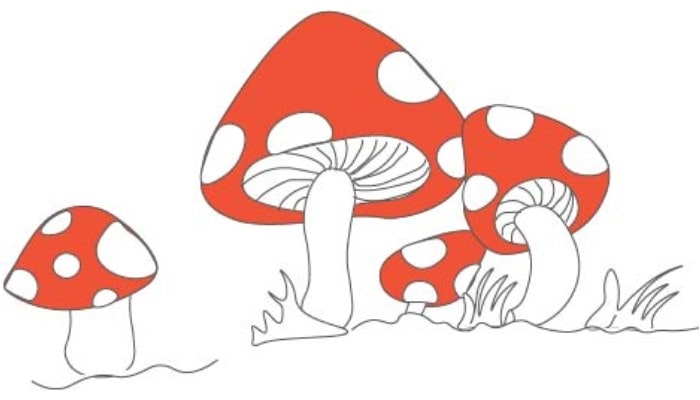
Use red color to fill in the mushroom caps—Figure 4.
Step 5:
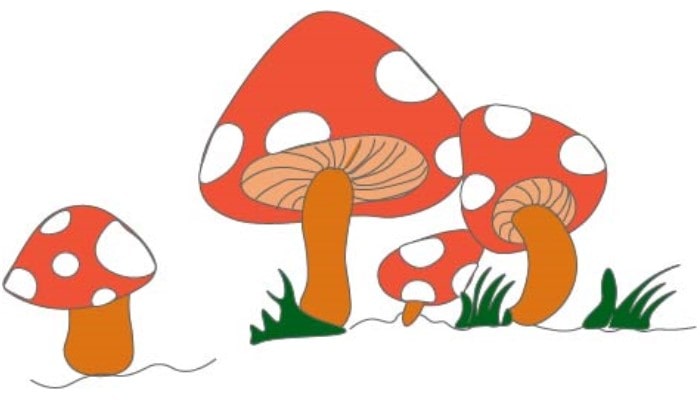
Use an orange color on the stalk or stem of the mushroom. Then use green color in the grass—Figure 5.
Step 6:
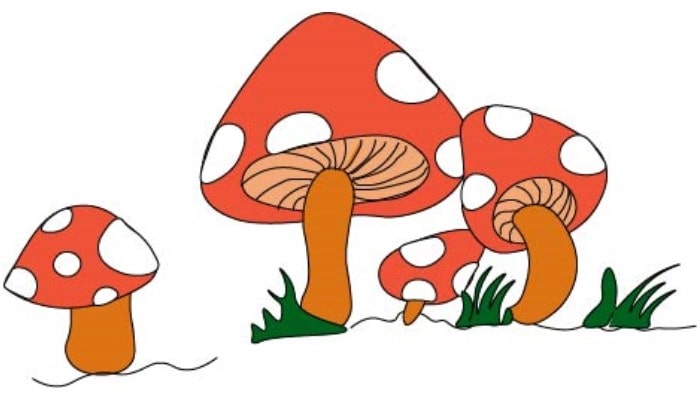
In the final step, use a sharpie or marker to highlight the outlines of the entire drawing—Figure 6.
Conclusion
We hope that our mushroom drawing tutorial will help you become better at drawing. Please make sure to check the video of this tutorial. Also, check other drawing tutorials, as we have hundreds of fantastic drawing tutorials on our blog.
You may also Like:

